I began with a couple very simple tutorials making dirt and snow. They went over the basic nodes that are used often in the program: nodes like grunge, blur, shape, blend, etc.


From there I moved on to more complicated material graphs.
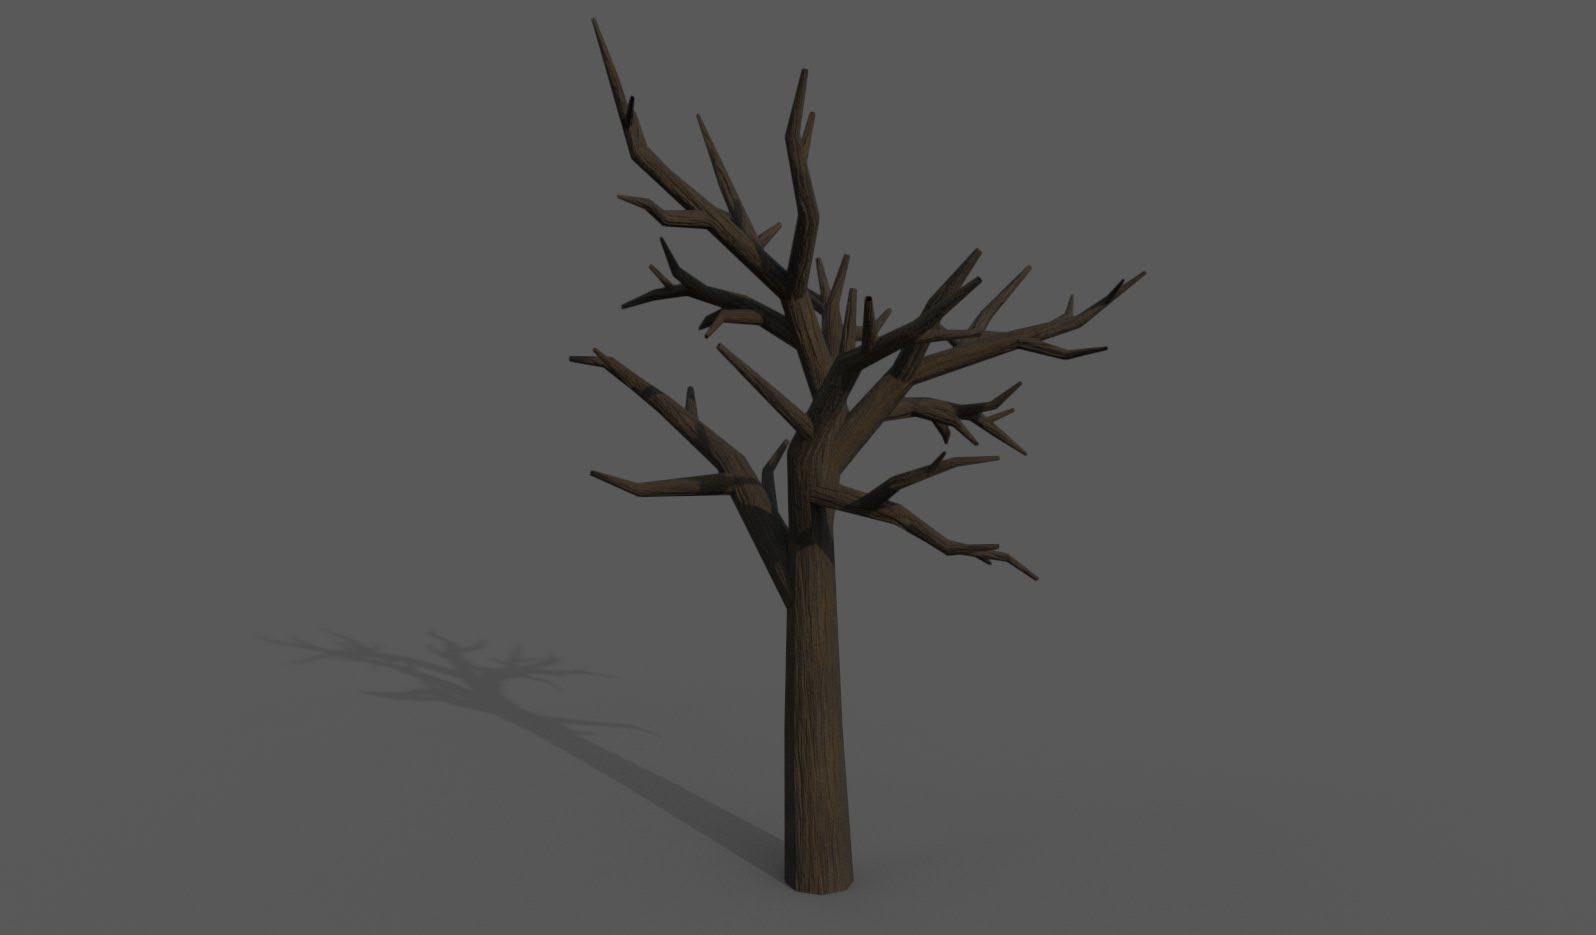
In the bark material (taken from Peter Sekula's walkthrough), he walks through creating a material by starting with a shape, using that as a tile base, and manipulating it multiple ways to get a certain textured look, then adding details like knots, and moving on to the color, or albedo.

Moving on to a more man-made texture, my next project was brick for the walls in one of my projects. I used a tutorial for this one as well, from the Substance Designer YouTube channel. The workflow that was used in this tutorial was most helpful for me, as he pointed out what he was doing and why specifically, and going into more detail of what can be done with certain nodes, and why some nodes are preferable to others depending on what you want out of the texture. He started with the large and medium shapes, then moved on to small details. Once he had the shapes to his liking, he looked at color.
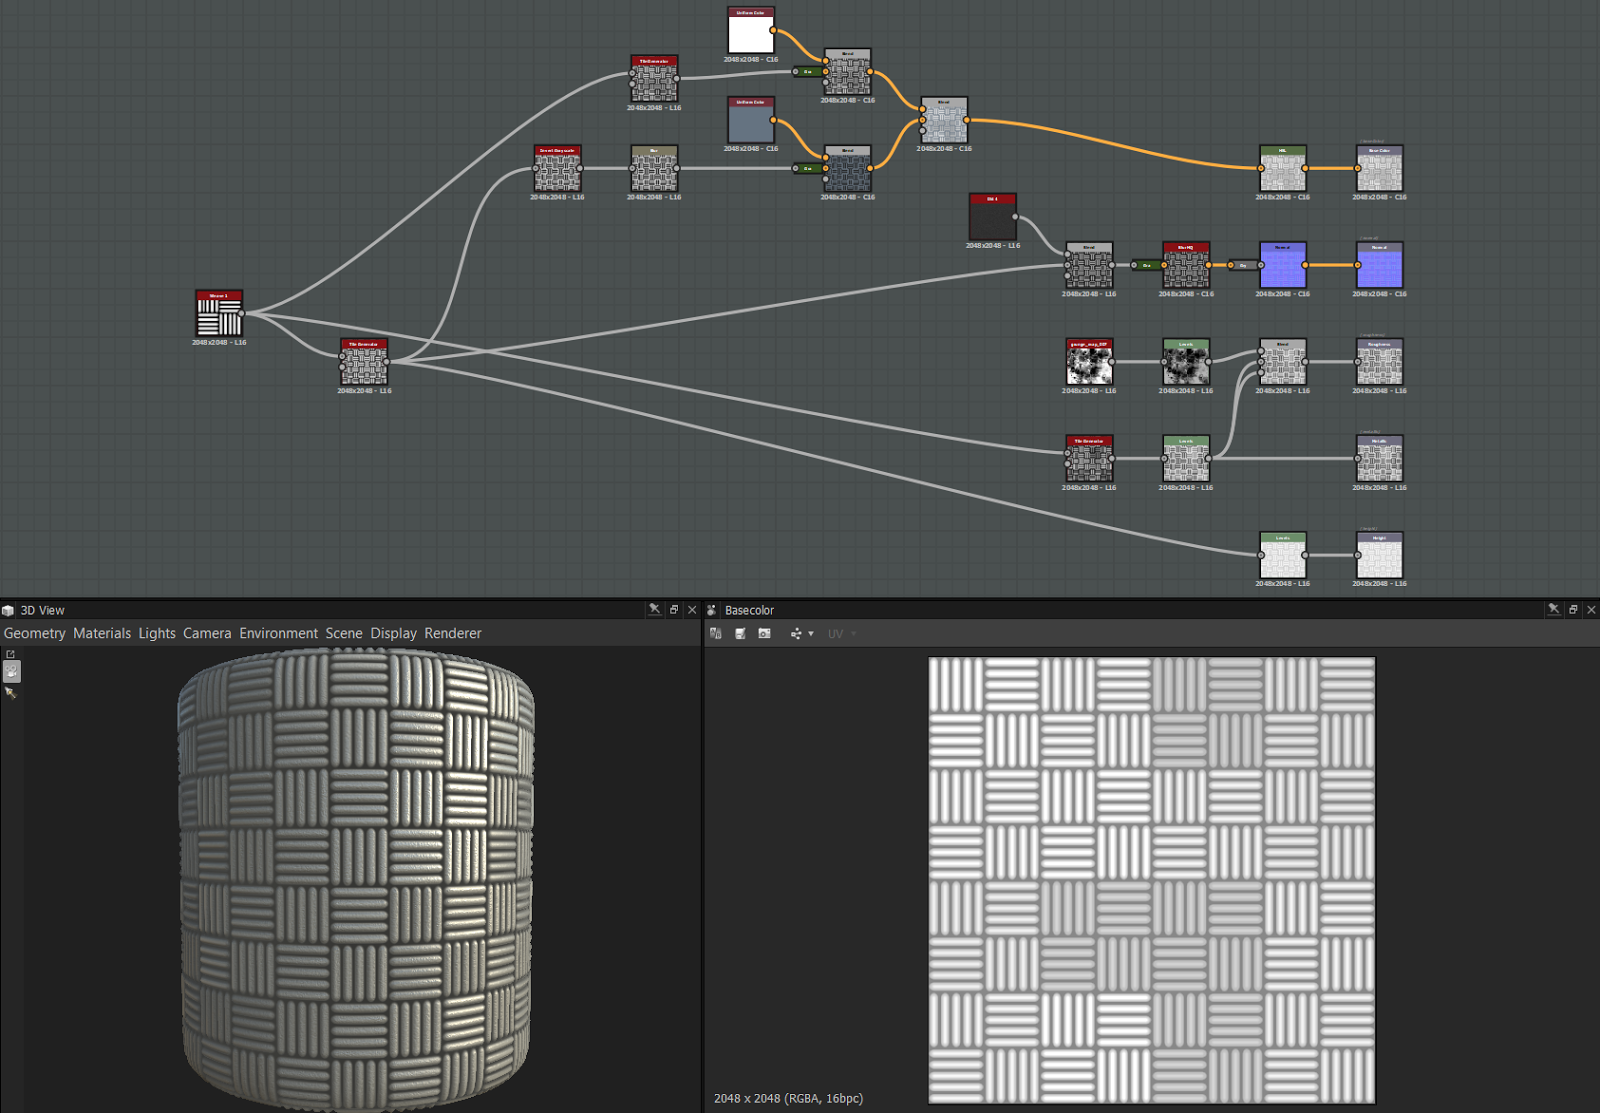
For the first section, the large and medium details, I started by creating a Gradient node, using a Histogram Range node to even out the gradient, and blended that with a shape. I plugged that section into a Tile Random node. This node allows you to manipulate the shapes in more ways than a brick node will, including random rotation and image input for custom shapes. From there I used a Warp and several Perlin Noise Zoom nodes to change up the shapes of the bricks so they're not even all around and brought more interesting details to the shape.

After getting the main shapes established, I focused on the smaller details. I added cracks and a grungy texture to make it look almost layered.

With the shape of the bricks established, I focused on the color that I wanted. Using masks and gradient map nodes, I separated out sections of brick so they weren't all the same color tone. I also used grunge maps to create an overall grime/ dirt texture to lay on top of the bricks, and blended them all together.

I created a separate color output for a dripping texture to overlap on the bricks so that I could vertex paint areas that I wanted to be extra grungy in UE4. This was done using Linear Gradients and blending them in with shape nodes and a Tile Random node (similar to the brick shape at the beginning), and using that as a mask to blend in another Grunge Map for the dripping effect.

The final large piece that I focused on was the grout in between the bricks. I started with a Black and White Spots grunge and manipulated that with Transformation, Levels, and Warp to get a rough grainy texture. I used an inverted version of the brick node as a mask for the grout. I used the same technique for the grout color as I used for the brick color.


Working off of what I learned from the brick tutorial, I created a cobblestone texture for the ground of my Italian courtyard scene. I wanted this material to look more worn and used, so I included a mask that would essentially remove some of the bricks, and created another color pass for darker areas.


For my capstone project I created some geometrical materials that would fit in with our futuristic theme. The hexagon material I based off of a tutorial, and the others were simple materials I made myself. I looked at a lot of sci-fi style metal references for patterns and style.
One of the interesting parts in the hexagon tutorial was that the author went into some of the coding portion of the material. When tiling hexagons, the Tile Generator doesn't always react well to odd numbers, and so you have to go into the instance parameters of the node and write out a code that will tell the material to perform a certain math function in the case of an odd number of tiles.


Organization of nodes is essential while using this program. Some materials can become very complex, and keeping everything neat will help you find what you're looking for faster. One element that I found very helpful is the ability to add a frame around nodes. By clicking and dragging over nodes (or holding control and clicking individual nodes), you are able to right click and access a menu. One of the options is creating a frame around your selected nodes (which you can also change the size and color of for more organization). You can title your frame as you want. I use it for grouping together sections of nodes to give it a general description of what it does for the material.
This program was the most challenging for me to learn in FIEA. It tends to learn towards a more technical workflow and interface, which is a weak spot for me. After watching and reading through multiple tutorials, I have a workflow that works best for me, and have learned to take things piece by piece, instead of getting bogged down by having a lot of aspects of the material that I want to see at the same time.